

Showing posts with label short nails. Show all posts
Showing posts with label short nails. Show all posts
Friday, March 29, 2013
Latest Gel Mani!
Ive discovered a love of gel polish. I purchased the Gel Shine Kit at Sephora back in November and its been love ever since. It is AMAZING! I dont use the gelshine polish by OPI, I prefer a brand named Gelish. It cures perfectly fine in the Gelshine light. Last two weeks sometimes longer no chips. The only reason I end up taking it off after that long is because my nails grow fast so you can see the new growth and thats what looks a mess. Ive only been doing solid polish with it till now. This is my first attempt at nail art with gel polish. It took forever but I love it! Simple but cute. Sorry for the reflection I had just oiled my cuticles.


Saturday, October 13, 2012
Todays Nail


It took me two days to complete because I have two sick babies and a sick hubby, I used Essie Turquoise and Caicos and Aruba Blue and the silver striping polish. I bought some striping tape off of ebay to try to get straight and clean lines. I dont know how I feel about the tape yet. I got the idea with the tape from the daily nail. Hers def looks much better than mine. Im still trying to find a thicker tape because my tape is soooo thin it doesnt give the look I was looking for which if it were just a litttttttle bit thicker would be perfect. I also used a dotting tool I bought a pack off of ebay a while ago for about 3.00. I love ebay for nail supplies. Actually I love ebay for a lot of things! Dirt cheap stuff and free shipping. I really didnt care too much for the turquoise polish, it took 3 coats to get it looking decent. Each time Id go to do the next coat even though the last one was dry, it would take the previous one away with each swipe. It was horrible. It was ok by the third but I think that Wet n Wild Ineedarefreshmint is much better for that type of color and much cheaper. I topped it all off with my face seche vite top coat. No base coat this time.
Sunday, October 7, 2012
Latest Nail Art
I rarely have time to do my nails these days but I finally got a second to do something other than bite them all off!


Friday, September 9, 2011
Latest Nail Design!
This took an insane amount of time! Only because I had no clue what I was doing! Im going to show you the exact way I did this however I will say, I realized towards the end had I done this process BACKWARDS it would of went way quicker...However since I did take pics all the way through im posting them lol.

 |
| I started off using a nude color by wet in wild as a base |
 |
Then I put a black dot in the center of my nail using a long thin striping polish |
 |
| Now for your stripes |

 |
its ok if they look a little jacked up and thin that will be fixed |
 |
Filled white in the little triangle |
 |
| made the black line thicker |
 |
| Added a blue stripe |
 |
| Added a pink stripe |
 |
Finally the last stripe which filled in the rest of the nail green At this point I realized had I started with the green and worked my way up it would of taken way less time AND I needed to go back over each color from the botton up anyways to make them more prominant so my suggestion is start from the bottom up in the first place and it will take way less time than it took me :p Its going to look messy at this point but its ok because we start cleaning them up now with an art brush and pure acetone. Be careful to not mess up all your hard work! |
 |
Small squared art brush  Few shots of the finished product and the actual products used all mine the grey bottle of polish idk why I lined that up I didnt use any grey.      Hope you like! |
Friday, August 26, 2011
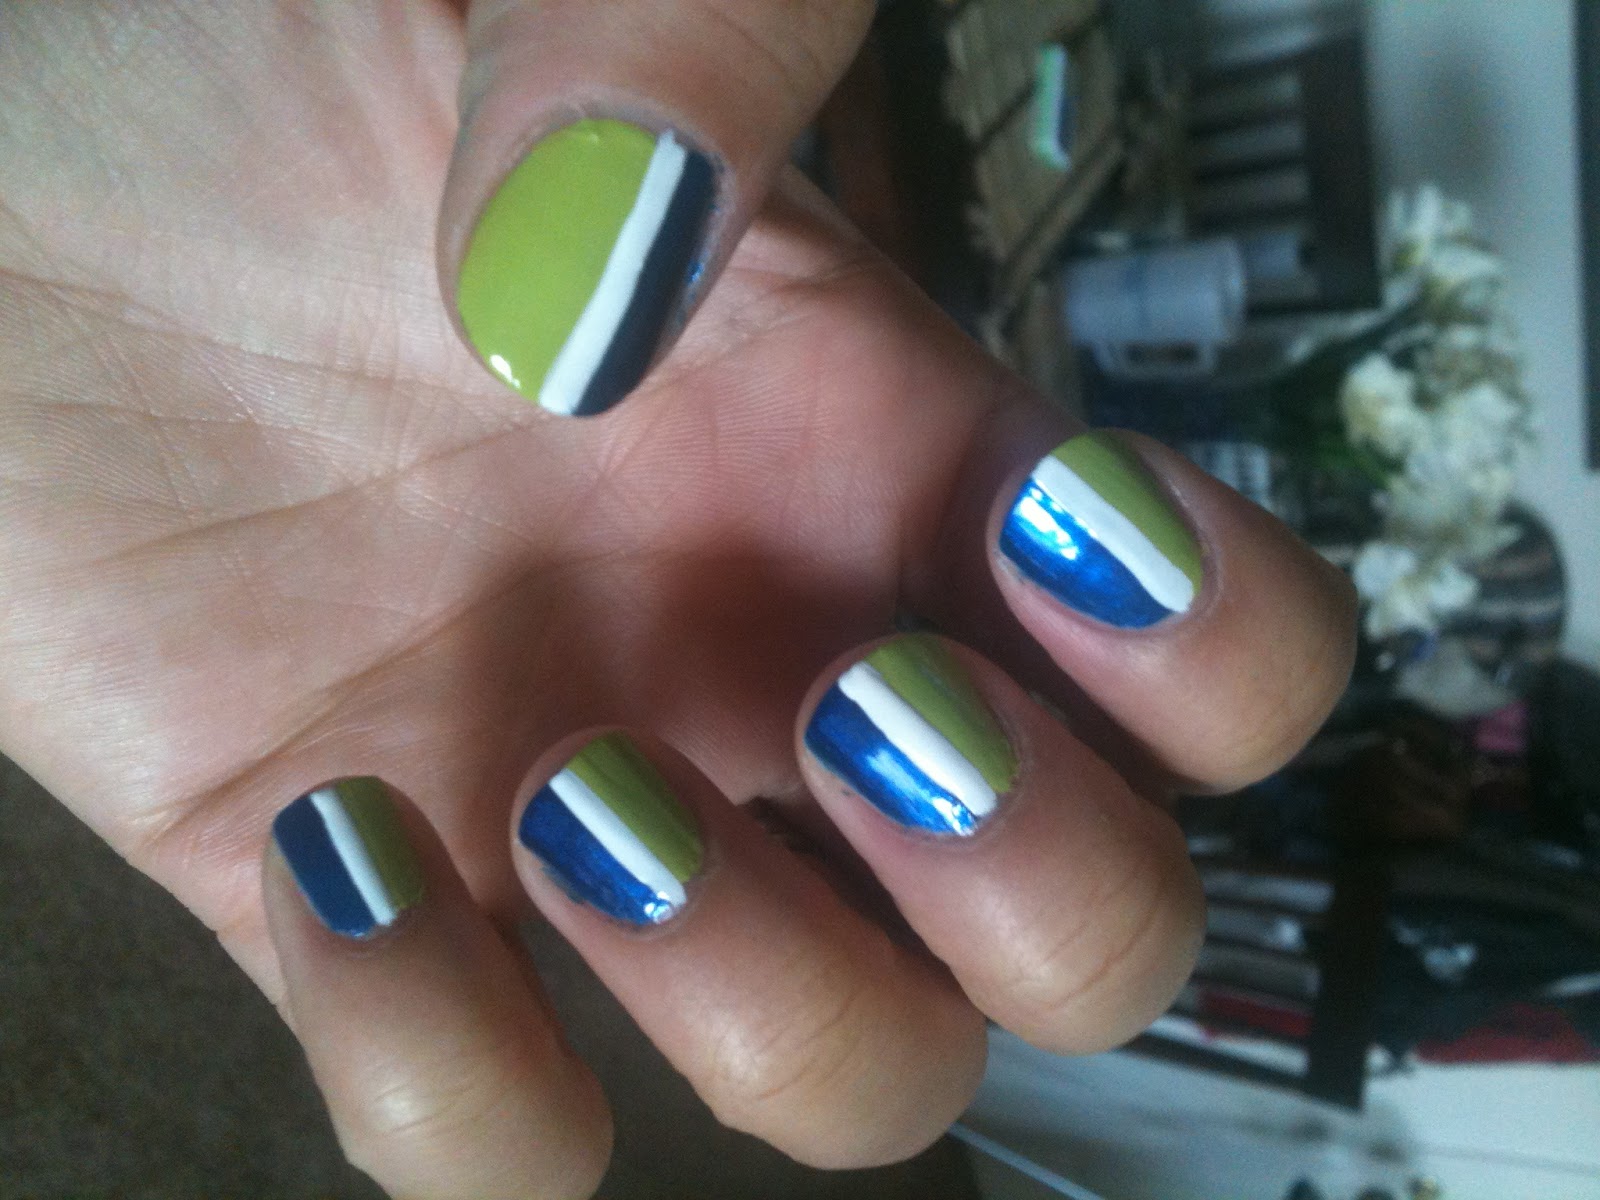
Color Blocking Take 2!
So since I loved the color block design from the other day, I decided to try it out another way with different colors. Im in love with this one as well! This one was even easier, and just as cute. Choose three colors total, I chose a dark blue, a light green, and white as my stripe. Half of your nail needs two coats of one of your main colors, the other side needs two coats of your second color, wait for those to dry then do a med size line down the center with your stripe color and wait for it to dry before applying your top coat. Always make sure you use a base coat before you start polishing your nails :)



Subscribe to:
Posts (Atom)